Fitness goals often include looking and feeling our best by having more energy, burning body fat while building lean mass. Countless articles talk about such very topics, each one providing an option, a “hack” of most effective exercise.
To enhance body physique, we need to increase overall performance. The most effective way to jolt overall system into metabolic disturbance while activating numerous muscle tissue and burning a ton of calories is by explosive strength—power. The basis for this type of training is to complete a selected exercise at speed.
Several training methods produce such skill set, but in this article we’re going to discuss the power snatch. Power snatch is a version of a snatch—olympic weightlifting exercise. This variation is easier to learn while producing all the desired benefits discussed by increasing rate of force development (RFD).
Power Snatch
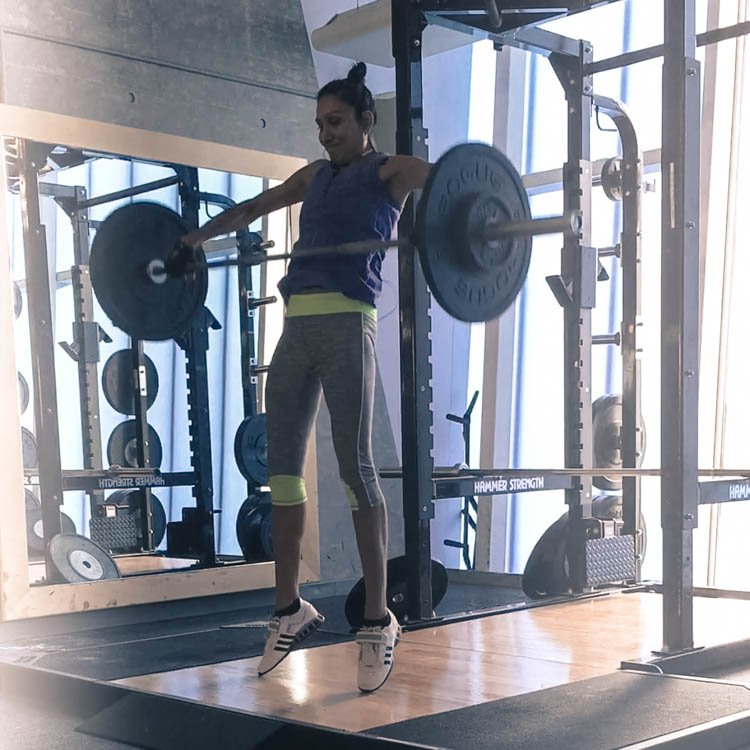
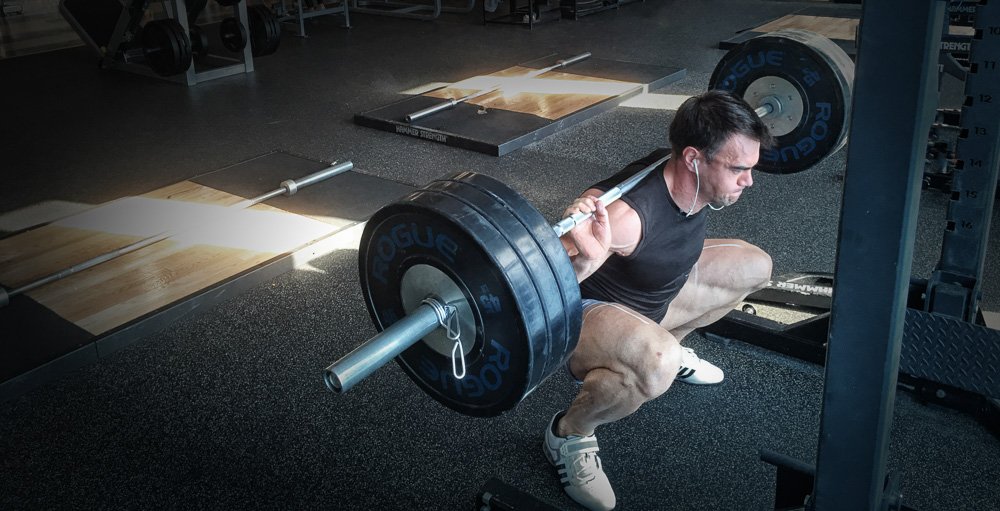
This exercise begins with barbell on the floor, being pulled in one continuous motion overhead. The catch position of the power snatch is higher than in the standard snatch, forcing you to develop most of the bar speed through pulling motions (second and third pulls) of this exercise. By learning technique and becoming an efficient puller, you develop significant explosive strength. This exercise is often prescribed by coaches to athletes in order to improve sport performance. Not to mention, that by explosively ripping the bar off the ground into an overhead position in a single move is simply bad@$$.
Advantages of Power Snatch
The biggest advantages of power snatch are at its core. This exercise contains fundamental movements through:
- bending pattern,
- pulling and pushing patterns,
- as well as squatting pattern while forcing the body to stay tight and loaded throughout the movement.
There are 7 fundamental patterns that are often tested for, and we just named 4 of them—not too shabby for a single exercise.
The power snatch produces speed and force during pulling portion of the exercise, while limiting the time and distance travelled under the bar (in a catch position). This makes the power snatch a good starting point for anyone interested in learning the exercise, and improve such skills. Power snatch is a simpler version and less taxing on the body than a standard snatch. However, the power option still packs plenty of physical stress, by engaging lower body, kinetic chain, shoulders, arms and entire trunk. This exercise tests and improves strength, speed, coordination and balance to name a few.
Coordination improves as the body is trained and develops neural patterns for engaging not only different muscle areas, but also maintaining them to be active (without relaxation) during this movement. This is important, as many of our body areas relax during various compound lifts, leading to poor technique habits and risk of injury.
Another of the showcasing benefits is core stability. Power snatches challenge trunk stability throughout the movement, but especially when the bar is balanced and stabilized in the overhead position. Transition from pull into catch positions force your entire trunk to stay tight and active throughout.
The Technique
To explain power snatch in simple terms—think about grabbing the bar wide, pulling it from the floor in a deadlift fashion and jumping with the bar (at top of deadlift), and then catching it overhead with straight arms, knees bent while hips are shifted back. From then just standing upright while holding the bar overhead. Sounds simple? Well, it’s a bit more involved, but this is the bulk of it.
This exercise should not be attempted on your own. Though power snatch is a simpler version of the standard snatch, it still entails technique complex enough that should be shown and/or guided by a strength and conditioning professional. If you don’t have a qualified trainer coach to walk you through this exercise get comfortable by doing the following three exercises while getting ready for the power snatch.
Working up-to Power Snatch
- Romanian Deadlifts (RDLs): one of
 the best overall exercises for building pulling and coordination especially during transition (between first and second pull). This exercise will build technique in pulling the bar.
 - Snatch Push Presses: the same concept as in standard push presses, but the bar is placed in a high bar squat position (across trapezius muscles) while holding the bar in a snatch (wide) position. Initiating the exercise with lower body, the momentum is transferred into the bar and is pressed overhead with a snatch grip. Extending the arms straight at the top, ensuring the bar is centred (aligned around or just behind the ears).
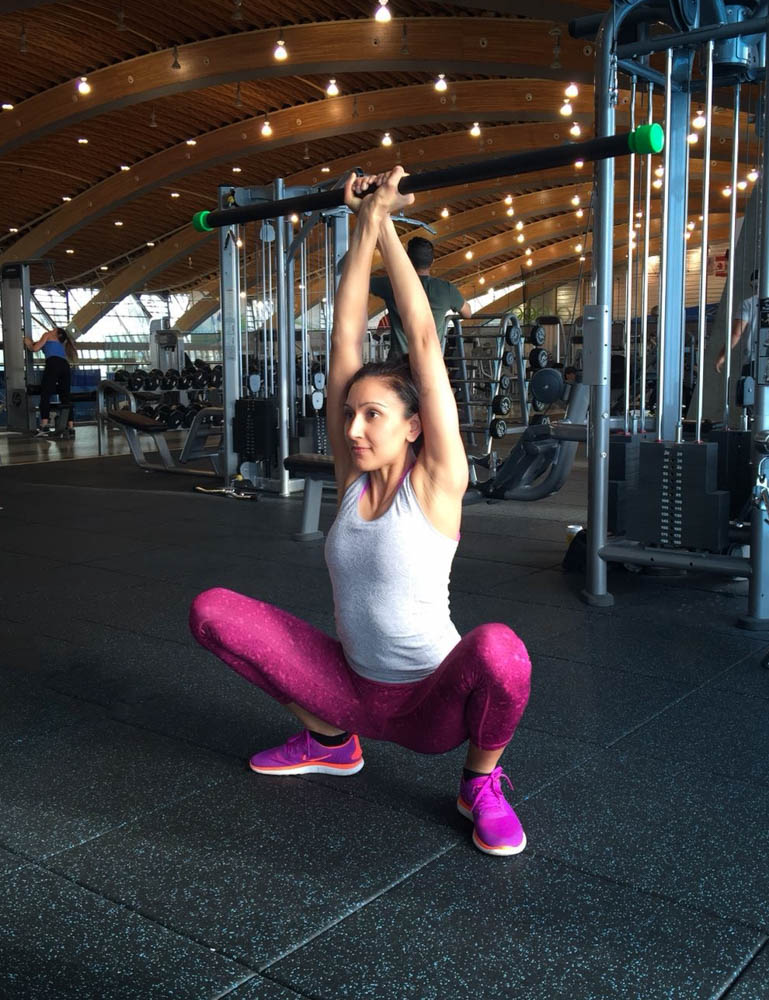
- Overhead Squats (OSs): this exercise will slowly allow you to feel the bar as the body changes alignment throughout eccentric and concentric movement. Keep the body tight while pulling the bar apart will increase overall stability, increasing overall range of motion. OS will also identify any mobility issues that you may have, which should be addressed for overall fitness.
Now that you have had some practice with the above exercises, let’s address the power snatch. When attempting the full power snatch movement, start slow and steadily progress. Remember, that technique is first and most important, then speed and last is intensity (aka, more weight).
Basic Set-up
- Grab the bar wide apart. How wide? When standing fully erect, the barbell should be sitting within your hip crease while holding it with straight arms. Now, make a note of hand positions and place the bar on the floor.
- Stand next to the bar about an inch (2.5 cm) or inch and a half (~ 4 cm) from the shins. Foot position should be hip width or slightly less—these minor adjustments are personal and body style preferences. Some people keep their feet straight, parallel one to another; while others prefer more of a staggered stance. Personally, we prefer the staggered stance with heels under the hips and toes extending outwards under the bar.
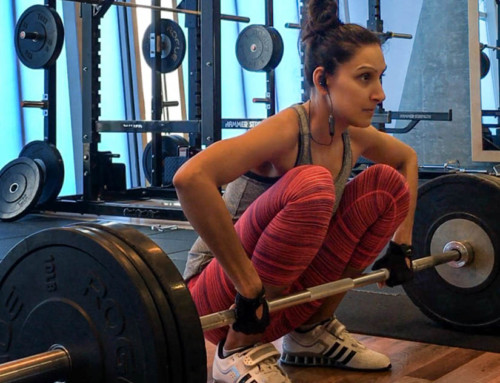
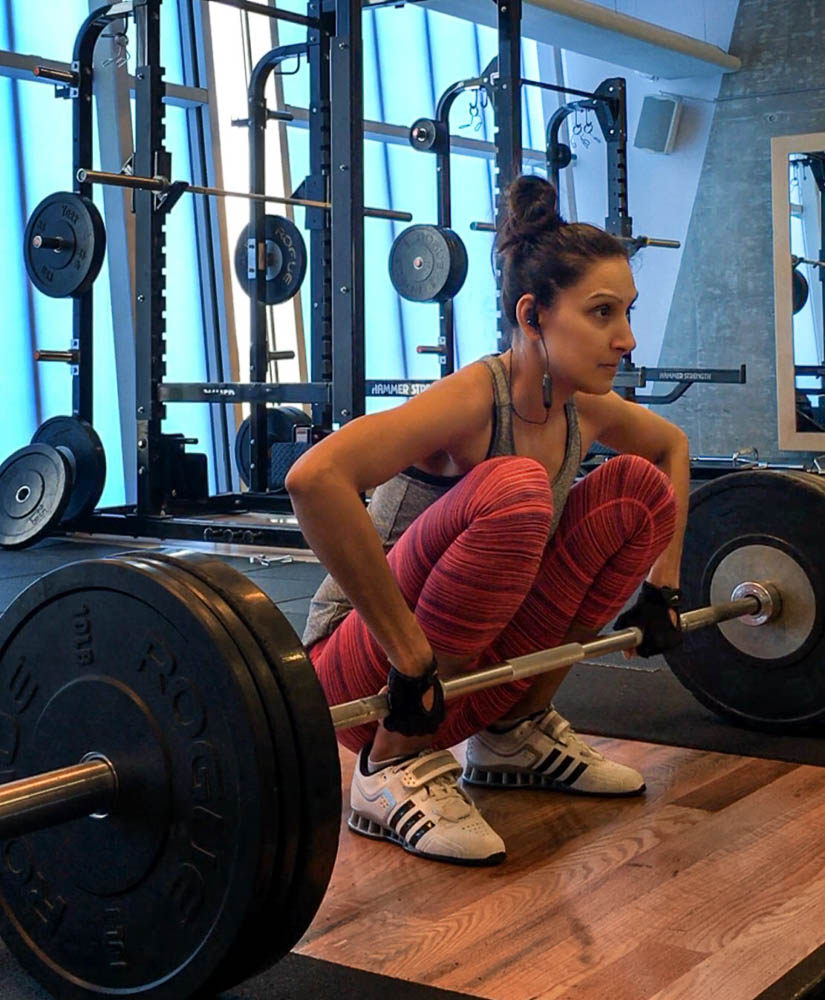
- Bend over and grab the bar with pronated grip, positioning shoulders over the bar and squatting down, until knees are touching at /or around the inside of the elbows. At this point your hips should be lower than the shoulders as shins will likely be touching the bar.
- This works if you have standard rubberized weights loading the bar. If your gym does not carry that kind of equipment, or floor is too much of a progression for you; then simply start in a “hang” position. Hang, is step one, only bending forward while extending hips back, keeping back straight and lowering the bar, wooden stick or pcv pipe just above the knees.
- Keep the back tight (which may be slightly arched), arms straight, elbows facing outward along the bar, while loading the trunk pressure.
Basic Technique
- Begin pulling the bar off the floor by simultaneously extending hips and knees forwards. Think about pushing your feet through the floor, while keeping the torso angle more or less the same, as you bring the hips more forwards. Keep the bar as close to the shins as you can. This is known as the “first pull”.
- As the bar reaches the knee caps, continue to push the hips forward while pushing your feet through the floor and pulling the bar at the same time. This will keep the torso angle more the same, while moving the knees out of the bar path. Don’t rush when passing the bar around the knees. Keep the bar close to the legs, while the knees extend making room for the bar to pass. Be patient, as the power of this movement lies ahead.
- When the knees are passed, begin to raise your shoulders (kind of standing up) extending knees and moving the hips forward. This feels like pulling the bar backwards on an angle. While doing so, keep the bar as close to legs as possible, often dragging it across the quad muscles up towards the hip line. This portion is referred to as “transition” (aka second pull) depends on which strength and conditioning books you read.
- Pulling the bar as far as possible up the thighs towards the hip crease, eventually needs to change direction and move vertical. Allow the bar to touch your thighs on the way to the crease line. The shoulders again maintained over the bar with straight back while pulling the bar towards or into the hip crease. This change from pulling back to puling up requires the most power and is accomplished by extending your hips, knees and ankles. This 3-joint extension movement is often called “triple extension”. As you extend the lower body in triple extension, the upper body continues to pull back, placing the body either into straight or slightly back extended position. This is called a “second pull” and is an explosive part of the entire movement where people often jump up with the bar and lose contact with the floor. The vertical pull is fairly quick, as the bar reaches height from triple extension, pull it further upwards by shrugging it up using straight arms with elbows facing outward. Now, that the bar has reached its maximal vertical height from shrugging, begin to flex the elbows pulling the bar upwards as high as you can, simulating a wide-grip upright row. This move is usually fairly short, but keep pulling the bar with the arms upwards as you simultaneously pull yourself under the bar.
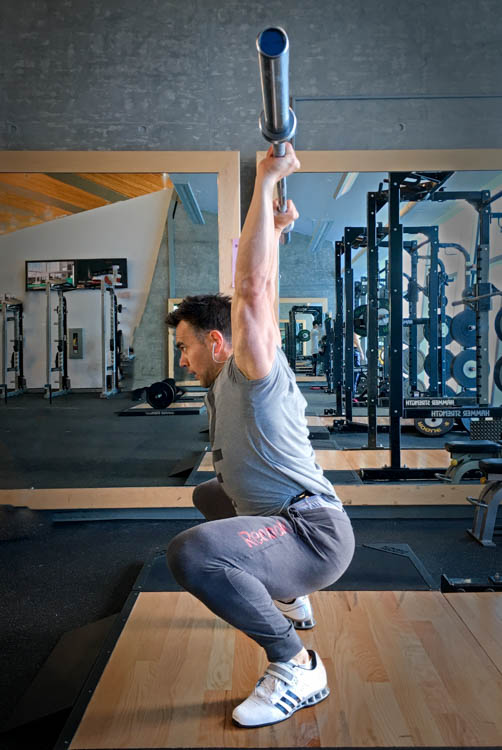
- As you pull the bar upwards (end of point 4) while pulling the body under it, you need to catch the bar by stabilizing it over the head. This is called the “catch”, and is referred to the bar in front of the body (at maximal vertical height – from second pull) is not transitioned into an overhead position. Actively pulling yourself under the bar involved rotating the hands, and once the arms under the bar, extend the elbows quickly and push the bar upwards and the body downwards under the bar. The bar should be caught (stabilized) at the body centre line, just behind the ears. The lower body moves downward to accommodate the catch by bending the knees and hips into a quarter squat position. The feet are flat on the floor at same width as the starting position, or slightly wider in a staggered stance (due to the triple extension jump and landing), pushing the body’s weight evenly through middle of each foot. The torso can be either straight or slightly leaned forward, but the core must continuously be engaged. After stabilizing the bar overhead, simply stand up / squat up from the quarter squat position with elbows fully extended and holding the bar.
Reversing the Movement
If your gym has rubberized bumper plates, the bar can be returned by simply stepping back and dropping the bar in front of you onto the platform.
Most of the time, the bar path is reversed, by slowly lowering it from the overhead position into “hang” position. Don’t put the bar onto the shoulders / clavicles, but rather control the descent from overhead to your thighs. The hips and knees are used as shock absorbers, by flexing slightly and cushioning the movement.
From then, lower the bar through reverse deadlift by squatting it down until placing it on the floor.
Final Thoughts
Power snatch is a very technical and demanding exercise requiring attention, commitment and continuous practice. Many strength and conditioning practitioners often forgo this movement due to its complexity and length of time required to learn the overall technique. However, the benefits of this simple yet violent movement are remarkable.
Power Snatch engages numerous functional movements through number of patterns, recruiting many large muscle areas, stimulating CNS and activating both fast and slow twitch fibers, while burning tremendous amount of calories during and post exercise. The body learns the true feeling of power development which comes with extensive metabolic benefits.
At the end, anything in life worthwhile takes time and practice. Power snatch is a great example of such statement.
We hoped you enjoyed this article, if so, please share it on your favourite social media so, we can get on google’s radar. Fell free to leave us a comment and start a discussion on the topic.
If you are looking to build strong, lean and beautiful shoulders be sure to check out our training books:
